Some Useful Tips On How To Pack A Cooler For Your Next Camping Trip
While packing a cooler, if you are not keeping it organized, believe me, your camping trip is just going to witness a lot of complaining and all-in-all it’s going to be a mess.
Your focus should primarily be on keeping the food cold and organized so that it can stay intact for a much longer time.
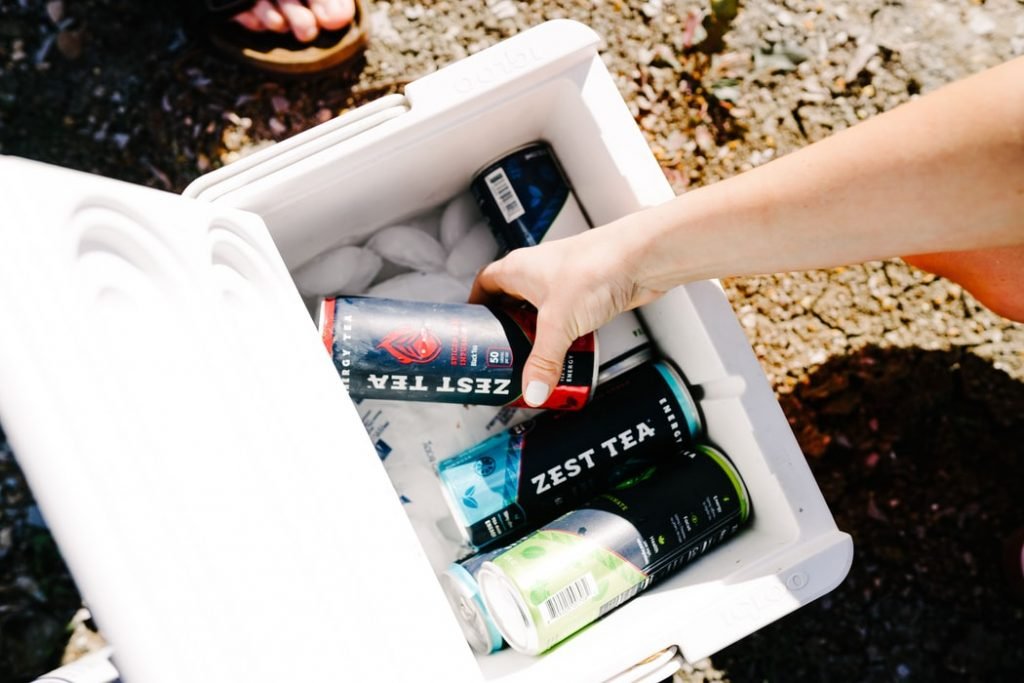
Also, a tip that one should not skip on is taking two coolers with you on the trip, one for edibles and the other for drinks. If you are not giving your food extra attention and care, it will take away all the fun from an otherwise pleasant trip quite quickly.
We have tried to compile some key tips and tricks that are shared by campers who have enough experience.
Before we dive into the article, it’s important for you to know that you don’t leave any extra space in the cooler because you can fill it with ice blocks.

Now let’s start:
Table of Contents
How To Pack A Cooler For Camping: 11 Useful Tips
1. Save Space
There are various food items that come with big packaging and to stuff more things in the cooler, you should cut down on the original packaging. For example, if you are carrying bacon, remove the cardboard box and put it in the plastic bag that has a lid.
Also, don’t carry bulky fruits on the whole. Cut them down into pieces and put them in plastic Tupperware.

2. Try to have a chilled cooler before packing
If you are putting ice blocks or cubes right while packing, it will take quite a long time to chill the inside. However, if you already have a chilled cooler, it will start working instantly.
The best way to get a chilled cooler beforehand is to put it in a commercial freezer overnight.
If you are finding it an unnecessary hassle, you can put the cooler on the porch or any area/corner of your home that’s cold enough.
3. Find a shade for the cooler
Now, when you are out and about on the camping ground, don’t put the cooler in direct sunlight. It will melt the ice very quickly and the food that you have packed for your 2-3 days’ weekend trip will get all messed up in just a day.
Find a shaded spot to put your cooler and it can either be a tree or some artificial shade.
4. Freeze the drinks
Not only the drinks but also you can also freeze your food items that you are planning to consume on the last day of your trip.
Let them warm down naturally and it will also help in putting less strain on the ice blocks/cubes that you have in your cooler.

You should also freeze all the drinks before putting them in the cooler.
5. Layer it in an organized way
Make sure that the layers that you are putting are organized and in the right order. The freezer blocks or the ice will go right at the bottom.
Before putting any food item on it, make sure you are applying a partition of a thin non-absorbent material so that the food doesn’t get slid away under the ice.
6. Don’t drain the water on a one-day trip
If you are on a one-day camping trip, make sure that you are not draining the melted ice. It will keep the items cool and once everything is finished, you can drain it.
However, on longer trips, you will need to drain it every time it is melted enough. It is because your focus should be on keeping the ice solid as long as you can and if there is water, it will melt away quickly.
7. Go for ice blocks, not ice cubes
The primary reason behind this tip is that ice blocks have more mass and it will preserve it from melting quickly.

It will clearly take more effort to freeze the water in the form of ice blocks using plastic containers but it will turn out to be quite helpful on long trips.
8. Get rid of all the cardboard
Cardboard packaging is not a friend of portable coolers. You will end up finding all the items squished up and the breakfast will turn into taking a break to clean the mess that tortilla bag has made.
What you can do is take out the food items from the original packaging and replace it with these plastic bags that will consume much less space.
9. Add extra insulation
Once everything is stacked and put in an organized way, it will not hurt you to add extra insulation, e.g., foil insulation, that will help you in reflecting the heat away and trapping the inner temperature.
Yes, it’s recommended even when you are using a high-end cooler with a hard outer shell. Before you put the top insulation, it’s better to put the green and fresh items in a paper wrap so that these food items can remain brisk for a longer duration.
10. Keep it seal tight
No matter how advanced and feature-rich a cooler that you own, if you are not keeping it all latched up, the cold air will escape easily. You will not be able to keep the occupants cool for as long as you thought.
Make sure that it’s fully sealed and latched up while not in use.
11. Keep drinks separately
An experienced camper will always tell you to keep the drinks separately in another cooler. It will put fewer burdens on the ice blocks.
As you will need to open the cooler more times for drinks, you will not let the cool air vent out which is keeping the food chilled.
Wrapping it up!
Camping is getting more common and if you are also the one who is just starting to experience it, I hope that this guide is able to help you out. The tips and tricks that we have mentioned here are all shared by experienced campers.
While you are at home, make sure that you are not leaving it in the sun. The materials used here will not be able to bear the harsh sun rays for very long.
